Understanding the Starlink Mini Mount and Its Benefits
What is the Starlink Mini Mount?
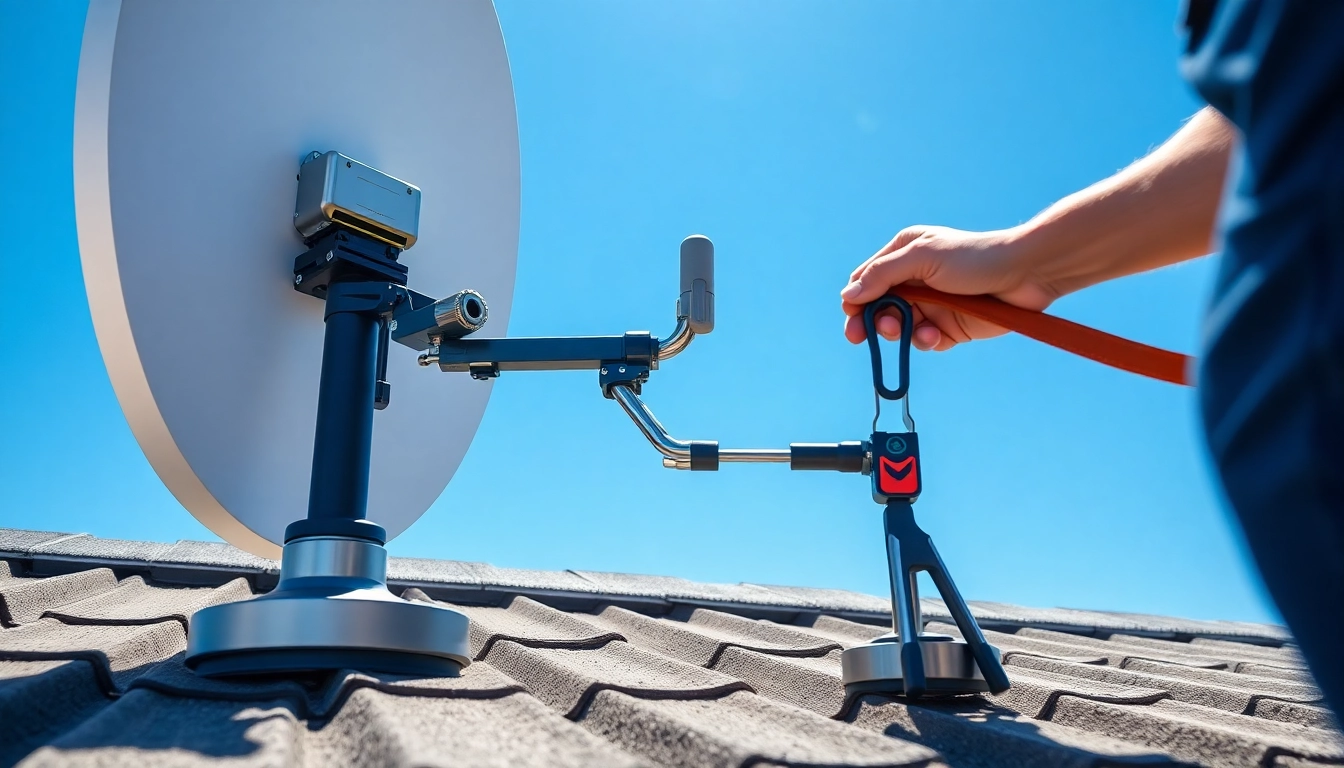
The starlink mini mount is a specialized mounting solution designed to securely position Starlink satellite antennas. These mounts cater to the unique requirements of Starlink’s compact antenna models ensuring optimal alignment for better signal reception. With durable materials and easy-to-install designs, the Starlink Mini Mount helps ensure that users can effectively utilize their satellite internet connection regardless of their geographical location.
Benefits of Using a Starlink Mini Mount
Utilizing a Starlink Mini Mount brings several benefits:
- Stability: The mount is engineered to withstand environmental stresses including wind and rain, providing a solid base for the antenna.
- Flexibility: Its adjustable features allow users to reposition their antennas for optimal signal strength based on specific local conditions.
- Simplicity of Installation: Many users find the installation process straightforward, requiring minimal tools and time.
- Improved Signal Quality: Mounting the antenna at the right height and orientation enhances connectivity and speed, reducing latency.
How the Starlink Mini Mount Enhances Connectivity
Properly mounting the Starlink antenna can dramatically affect connectivity. The goal is to position the antenna where it can have a clear line of sight to the satellites. The Starlink Mini Mount allows for flexible positioning, ensuring the antenna isn’t obstructed by buildings or trees. This strategic placement boosts the performance of the entire Starlink system, leading to improved download and upload speeds, enhancing users’ experiences whether they are streaming content, video conferencing, or gaming online.
Essential Tools and Equipment for Installation
Tools Required for Installing the Starlink Mini Mount
Installing the Starlink Mini Mount requires some essential tools. Here’s a list of what you will typically need:
- Drill with appropriate bits
- Screwdriver set
- Measuring tape for precise layout
- Level to ensure the mount is perfectly horizontal
- Wrench or socket set for tightening nuts and bolts
Safety Equipment to Consider
Safety should never be overlooked during installation. Essential safety equipment includes:
- Safety goggles to protect your eyes from debris
- Gloves to minimize hand injuries
- Hard hat if working at heights
- Non-slip footwear for climbing or rooftop work
Preparing Your Site for Mounting
Before installation, thorough site preparation is crucial. Identify a location that provides an unobstructed view of the sky. Additionally, consider the following:
- Evaluate surrounding structures that may interfere with the signal.
- Ensure there are no visible power lines or nearby trees that could be a safety hazard.
- Assess the ground condition if mounting on the ground, making sure it can support the mount’s structural integrity.
Step-by-Step Guide to Installing the Starlink Mini Mount
Pre-Installation Checklist
Before beginning the installation of the Starlink Mini Mount, it’s crucial to follow a pre-installation checklist:
- Gather all required tools and safety equipment.
- Set aside time to complete the installation without interruptions.
- Review the assembly instructions provided with the mount.
- Scout the area thoroughly to determine the best possible installation spot.
Installation Process Explained
Here’s a detailed step-by-step process for installing the Starlink Mini Mount:
- Mark the Location: Use your measuring tape to mark the exact spot where you plan to install the mount. Ensure it’s level and accessible.
- Drill Pilot Holes: Using the drill, create pilot holes in the designated area for the screws that will hold the mount in place.
- Attach the Mount: Align the mount with the pilot holes and use the screws to secure it tightly. Make sure it’s straight using a level.
- Connect the Starlink Antenna: Follow the manufacturer’s instructions to connect the antenna to its mount and ensure firm connections for optimal signal quality.
- Test the Signal: Before finalizing the setup, test the signal strength as per the guidance provided in the user manual.
Common Pitfalls and How to Avoid Them
During installation, a few common mistakes can occur, leading to poor performance or unnecessary frustration:
- Ignoring Site Conditions: Always check for surrounding obstacles that would interfere with your antenna’s line of sight.
- Improper Mounting Angle: If the angle isn’t set appropriately, signal strength can diminish. Refer to guidelines for the optimal angle based on geographic location.
- Neglecting to Test Connections: Always test the connections after installation. If the signal isn’t strong, check wiring and positioning before securing everything permanently.
Maintenance Tips for Your Starlink Mini Mount
Regular Checks for Performance
For continued optimal performance, carry out regular checks:
- Every few months, measure the signal strength to ensure the installation remains effective.
- Monitor environmental changes that could interfere with the signal.
- Inspect the mounting hardware for any signs of rust or corrosion, especially in harsh weather conditions.
Cleaning and Care Instructions
Keep the mount and antenna clean to prevent obstructions. Here are some care tips:
- Use a soft cloth and mild soap to clean the antenna surface and remove any dust or debris.
- Ensure that snow or ice buildup is cleared immediately in colder climates, as these can degrade signal quality.
- Check for overgrown vegetation that could obstruct the antenna’s view periodically.
Identifying Potential Issues Early
Recognizing early signs of issues can prevent bigger problems down the line:
- If experiencing sudden poor signal quality, revisit your install site for any new obstructions.
- Listen for unusual sounds from your equipment; this may indicate a hardware failure.
- Regularly check and tighten connections to ensure everything is secure.
Maximizing Performance with the Starlink Mini Mount
Optimal Placement Tips
To achieve the best performance from your Starlink Mini Mount:
- Position the mount as high as feasible, such as on a roof or a pole, to maximize the signal range.
- Choose a space with open skies, free from trees, buildings, or other obstacles that could block satellite signals.
- Utilize adjustable features to refine the angle based on the satellite trajectory.
Testing Signal Strength and Quality
After setup, it’s crucial to regularly test your signal strength and quality:
- Use network diagnostics tools available in your Starlink app to assess performance.
- Check for latency and jitter; consistent low latency improves online usability.
- Keep a log of any significant fluctuations in signal strength that may correlate with environmental changes.
Adjustments to Improve Connectivity
If your connectivity is not optimal after installation, consider making these adjustments:
- Realign the antenna slightly and retest the signal, as even minimal changes can yield better results.
- Experiment with relocating the mount to a different area entirely if obstacles change over time.
- For extended periods of poor performance, consult with a technician specializing in satellite services for tailored solutions.